Thursday, March 17, 2011

Carrot Puree

...as an ingredient for other recipes


For 1 cup of puree:  3-4 medium carrots (I used 4 large carrots and had 1 1/3 cups of puree)


-peel and chop carrots into smaller pieces
-fill pot with 1-2 inches of water, up to steamer basket
(or you can boil the carrots, instead)
-bring to boil
-add carrots, cover
-steam for 10 minutes (at least 10 min. -- my carrots chopped to bits instead of into a smooth puree, which is fine with me, but if I want a finer product, I should steam/boil longer).
-puree in a processor or blender, add a tablespoon of water to help it blend (if you cooked your carrots until they are mushy-soft, then you can use a potato masher if you don't have a blender/processor)


Tuesday, February 15, 2011

Collard Greens

Kid Rating:  2 out of 2 who tried it liked it
Do Again?  Yes


I was very pleased the first time I tried collard greens but wanted to try it without the ham hocks.  It reduced the time dramatically.


16 large leaves collard greens, washed, de-stemmed, rolled and sliced

Strip leaves from stems.
Start at bottom and pull through.
The most stripping I've ever done.
Stack then roll.
Slice into 1/2 - 1 inch strips.
1 T butter
1 clove garlic pressed
1/4 medium onion, finely chopped
2 cups of water
2 tsp chicken bouillon (I used Better Than Bouillon) 
1/2 T house seasoning I made from the last collard greens recipe -- I will omit this next time -- too salty


+Melt butter over medium heat.  Add onion and garlic.  Cook for 3-4 minutes.
+Add two cups of water, bouillon, and house seasoning (don't add next time).
+Bring to boil.  Taste liquid and adjust seasoning (I added another 1/2 cup of water, but next time I will just omit the house seasoning (blend of salt, pepper, and garlic powder).


+Add collard greens.  Stir.  Reduce heat to low.


+Cook for 30-45 minutes.  We tried it at 30 minutes.  We all liked it, but I thought it was slightly bitter.  The longer you cook the greens, the milder they become.  The texture was still fairly firm at 45 min.  {Have since discovered home-grown greens can be much milder (and cleaner!) than store-bought.  You can pick them younger from your own garden or planter pot, too.  Cooking time will be less.}

I'm sorry I don't have final pictures.  I forgot about it as I was starting to serve dinner.

The whole batch was gone during this meal.  Yum.

Family Review:
11 y.o. - liked it
9 y.o. - liked it, asked if we could have Brussels sprouts, too;  later said the greens were a little too salty
5 y.o. - didn't try -- that's okay for now
Hubby - still in Minnesota for training, poor guy
Me - Really liked it and love how easy (and cheap) it is to make.  Will prepare it without the house seasoning next time.  Would like to try adding bits of bacon or sausage sometime.


Sunday, January 30, 2011

Wild Mushroom Bisque/Soup

Kid Rating:  2 out of 3 like it
Do Again?:  Yes

What is the difference between a soup and a bisque?  A bisque is a soup, but it is thick with (traditionally) a fish stock and pureed. The definition has been blurred in modern cooking and any stock seems to be used.  You can read more about it HERE.

This recipe doesn't call for pureeing, so maybe it's more of a chowder.  It didn't turn out super thick, either, so maybe it's just a soup.

But it's gooooood.

The first time I tried Wild Mushroom Bisque was last year at Cafe Zupa's.  I was in heaven.  But, it was expensive.  So, I went on a quest for a homemade variation.  I did, but it's just about as expensive and more if you use the full amount of porcini mushrooms.

I based the recipe from HERE.

(About 10 oz of mushrooms)=
0.5 oz dried porcini mushrooms (unless you are lucky enough to find fresh)
4 oz fresh shitake mushrooms
5.5 oz fresh crimini mushrooms
3 cups hot water
4 T butter
1/4 onion, chopped
1 tsp kosher salt
1/4 tsp nutmeg
3 T all-purpose flour
3 cups turkey stock (I had some left from Thanksgiving in my freezer; you can use chicken or try vegetable stock, beef stock)
1/2 cup whipping cream
1/4 tsp pepper

(Plus flour).
Boil the 3 cups of water.  Set aside and add the dried porcini mushrooms.  Let them soak for 20-30 minutes or until you run errands and pick up your 5 year old from school and get back an hour later. 
The original recipe actually called for
2 oz of dried porcinis -- that would have been
4 bags at $6 per bag = $24 YIKES!
So, I only splurged for one bag this time and may
leave them completely out next time.
(The bag smelled so good).
Drain the porcinis and reserve the liquid to add later on.


Rinse mushrooms and chop away!

Next time, I'm going to add more onions.
Melt butter, then add onions.  Cook over medium heat for about 3 minutes.


Add mushrooms, salt, pepper, and nutmeg.
Cook until most of the liquid (from mushrooms) evaporate -- about 6-8 minutes, stir occasionally.


Add the 3 T of flour and stir 3 minutes.
The mushrooms will stick together.
Keep stirring.
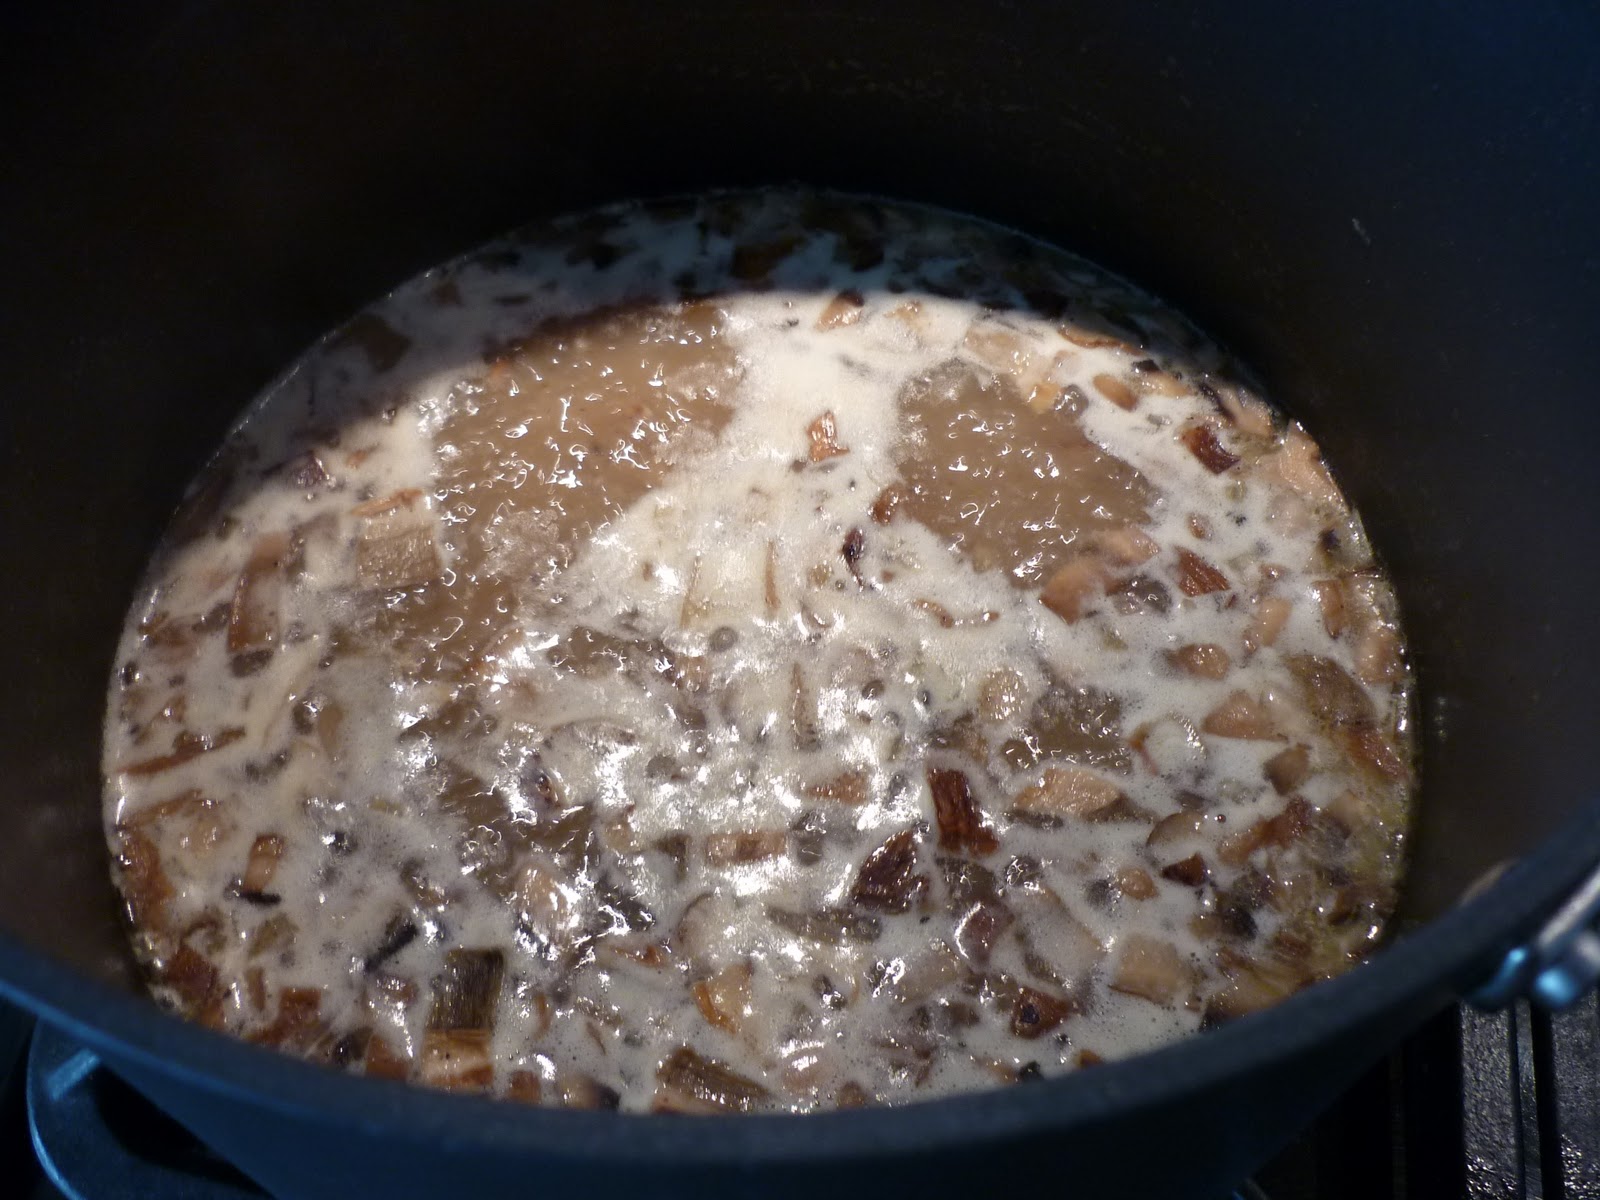
Whisk in stock and reserved liquid from dried porcini.
Bring to boil and whisk constantly.
Reduce heat to boil gently for 40 min., stir occasionally.

Original recipe says to skim surface occasionally.
I didn't.  I just stirred.  It was fine.
Whisk in the cream.  Simmer 5 minutes.  Serve.

Family Review:
Hubby:  Still out of town, but I think he would have liked it.
11 y.o. - He's chowing away, slurp, slurp, slurp, not saying a word to anyone.  I asked if he liked it.  "I dunno," he says.  Then he finished the last drop.  I think he liked it.  At least he'll eat it.
9 y.o. - "Smells good."  "Mmmm.  This is good!"  She asked for left-overs the next day.
5 y.o. - Tried one bite.  Refused more.
Me - Loved it.  I did add a little more salt to my bowl.  The homemade stock wasn't salted, so the batch was overall less salty.  The kids liked it as was, though.
My neighbor whom I invited over for lunch - she really liked it.

{2-12-11 -- Here's a helpful link from Healthy Mom's Kitchen for some basic mushroom info... click HERE.}

Saturday, January 22, 2011

Collard Greens With Ham Hocks

Kid Rating: 2 out of 3 liked it
Do Again: Yes

I had never tried collard greens before. Never wanted to. But, this is a veggie quest. I kept hearing different people say they liked them, so I thought I'd give them a try. We liked them. I may even grow some in my garden.  {Update:  I have grown them and will continue to.  They are super-easy.  Keep the "stumps" in over the winter, and new leaves will sprout and tie-you-over until your fresh plants produce.  I prefer them from the garden than from the grocery store.}

This recipe comes from Paula Deen and Food Network. It had wonderful reviews, although a common complaint was that it was too salty or too spicy. I researched further and found that more greens were needed (the bunch was too small) to "dilute" the seasonings.

2 smoked ham hocks
1 T of "House" seasoning (recipe on bottom)
1 T of seasoned salt
1 T hot red pepper sauce
1 large bunch of collard greens ("large" is vague -- at least 30 larger leaves, one person wrote that she used 60 leaves - they cook down)
1 T butter

-Boil 3 quarts of water (I put on lid, it took about 15 minutes)
-Add ham hocks, house seasoning, seasoned salt, and red pepper sauce
-Reduce heat to medium and cook for 1 hour -- I didn't know whether I should put a lid on or not. Paula didn't say to, but other sites did. I had a lid on half of the time. Next time, I won't at all and just let the liquid reduce. Also, it's important for the hocks to be cooked before adding the greens (although some sites do it at the same time but for longer).
-Wash collard greens thoroughly. I washed each leaf individually, rubbing dirt off. They weren't too bad. I read you can get really clean prepared leaves at the store.  {Update:  greens from my own garden are much cleaner than from the store.}
- Remove the stems that run down the center by holding the leaf in your left hand and stripping the leaf down with your right hand. (see photo) The tender young leaves in the heart of the collards don't need to be stripped.
-Stack 6-8 leaves together, roll, and slice 1/2 to 1 inch thick strips.
-Put greens in pot and add butter. (Some people suggest trying the water/soup and adjust seasoning before adding greens).
-Cook for 45 minutes. (Lid off.) Stir occasionally. I did a taste test after 25 minutes and liked the texture better. I also read that the longer they cook, the milder the flavor of the greens. I'll try for 30-35 minutes next time. {Update:  Larger, older leaves are tougher and need longer cooking times.}

House Seasoning
(Basically it's 2 parts salt, 1 part pepper, 1 part garlic powder; you can make a smaller batch if you'd like.)
1 cup salt
1/4 cup black pepper
1/4 cup garlic powder
Mix and store in airtight container.
(Only take 1 T from this mixture).

I had about 24 leaves of varying sizes -- not enough
for the amount of seasoning.
Three quarts of water. After it boils,
add the ham hocks and seasonings.
Strip leaves from stems.
Start at bottom and pull through.
The most stripping I've ever done.
Stack then roll.
Slice into 1/2 - 1 inch strips.
Add butter and greens.
(Sorry, I got so busy cooking the rest of the
meal that I forgot to keep taking pictures).

It really is good -- not slimy at all.

Pot likker -- the liquid that remains. Save for other
recipes. I should have left the lid off in the
beginning so it would reduce more and concentrate
the flavors.

Family Review
11 y.o. - Good but a little bit too spicy.
9 y.o. - Same. They both liked the taste test at 25 minutes.
5 y.o. - Took one bite, didn't like it. (Figures - at least he tried).
Hubby - I forgot he wouldn't be here. He missed out.
Me - I liked it a lot and am happy to have another veggie to play around with. I look forward to trying other recipes and seasonings. I even tried the ham hock. The leaner pieces were good mixed in with the greens, but I didn't care for the fattier pieces. I did think it was a little salty, but I needed more greens (or less salt next time).

Ideas:
I wonder if just adding smoked liquid would be an okay sub for the ham hocks.
I'd like to try onions and minced garlic in with it.
If the broth is too salty, add more water to dilute it before adding the greens.

This is an easy recipe, but give yourself 2 hours (you're not cooking for the 2 hours, it's just in the pot a long time -- mostly for the hamhocks).

Saturday, January 15, 2011

Yams with Pineapple

Kid Rating: 3 out of 3 like it
Do Again? Yes

I never used to like sweet potatoes or yams -- even with melted marshmallows. Then one Thanksgiving a few years ago, some dear friends invited my children and me over for Thanksgiving while my hubby was out of town. Out of politeness, I had some of Mr. Rizzi's yams. Out of greed, I had some more. Yum for yams. I asked him for the recipe. He said he has been making it for years (the only way people would let him in is if he had the dish with him - LOL), and there is no recipe. You just put together this, this, and this.

Update 10-10-19: Butter, sugar, nor salt are needed. The sweet potatoes are amazing just with the pineapple, cinnamon, and pecans.

4-6 sweet potatoes or yams (the store only had 4 small ones left - usually I have 4-5 larger ones)
1 can crushed pineapple
1-2 T butter
1 T brown sugar
1 T honey
cinnamon
walnut pieces (or pecans)
dash of salt

Everything is to taste. Make it with as little or as much of what you'd like. I've made it without honey. I've forgotten the butter. You just can't forget the pineapple.

Boil yams about 30-40 minutes until inserted knife goes in smoothly (or desired firmness/softness).

In a sauce pan, add all other ingredients and heat over medium. Reduce to low if it starts to boil.

Remove yams skins and give to my mother to eat (she looks at me strangely for throwing them away; I look at her strangely for eating them).

Mash or slice yams to your preferred texture.

Add contents of sauce pan to yams and stir.

(Zap in microwave to reheat).


Family Review:
We all love these yams; the pineapple compliments them well. I can hide the turkey in them for my five year old. Left overs are wonderful.

Honestly, the butter adds a wonderful flavor to it. Try it without first -- if you like it, great! Because once you try it with butter, it's hard to go without.

Tuesday, December 21, 2010

Brussels Sprouts and Chestnuts

Kid Rating:  2 out of 3 really like it (the third needs time to get used to it)
Do Again?  Yes, but maybe without the chestnuts

This recipe is adapted from my antique cookbook.  I had purchased chestnuts at two different times, the second because I thought I could use a little more.  I stored them two separate ways.  Apparently, one of the ways was the wrong way, but I didn't know this until after I cooked them together and half the batch showed spoilage upon opening them.  Here is a link on how to store chestnuts:  click here.

There aren't as many steps as I make it look like; I just really spell them out.


Ingredients:
chestnuts
Brussels sprouts
salt water (*recipe for a brine solution on bottom)
butter
salt (I used Kosher)
pepper


Step 1A - Chestnuts -- This could also be a do-ahead step but within 24 hours.
Put chestnuts in pot of cold water.
Bring to boil (it took mine 10-15 min) - (Start Step 1B while waiting for it to boil)
Boil 5 min. (Shell should be soft).
Drain.
Cut and pull apart.  I cut mine in quarters to make it easier to pull nut out.

Step 1B - Brussels Sprouts
Trim stem to base.
Pull off wilted/yellowed leaves.
Cut "X" on bottom 1/2 inch deep.
   ....screeeeeetch -- stop -- that's what I started to do.  The "X" may be good enough for small Brussel sprouts, but I was cooking large ones this time.  So, I changed my mind.  Experience tells me to cut them in half instead.
Cut large sprouts in half.
Soak in salted water* for 10 minutes. (Start another pot of water boiling).
Drain sprouts from salted water.
Put sprouts into boiling water, return to boiling and boil 10 minutes.
Drain.

Step 2
Pre-heat to a "moderate" oven, which I interpreted as 300 degrees F (love these old cookbooks).
Spray baking dish with cooking spray or just rub vegetable oil on bottom of dish.
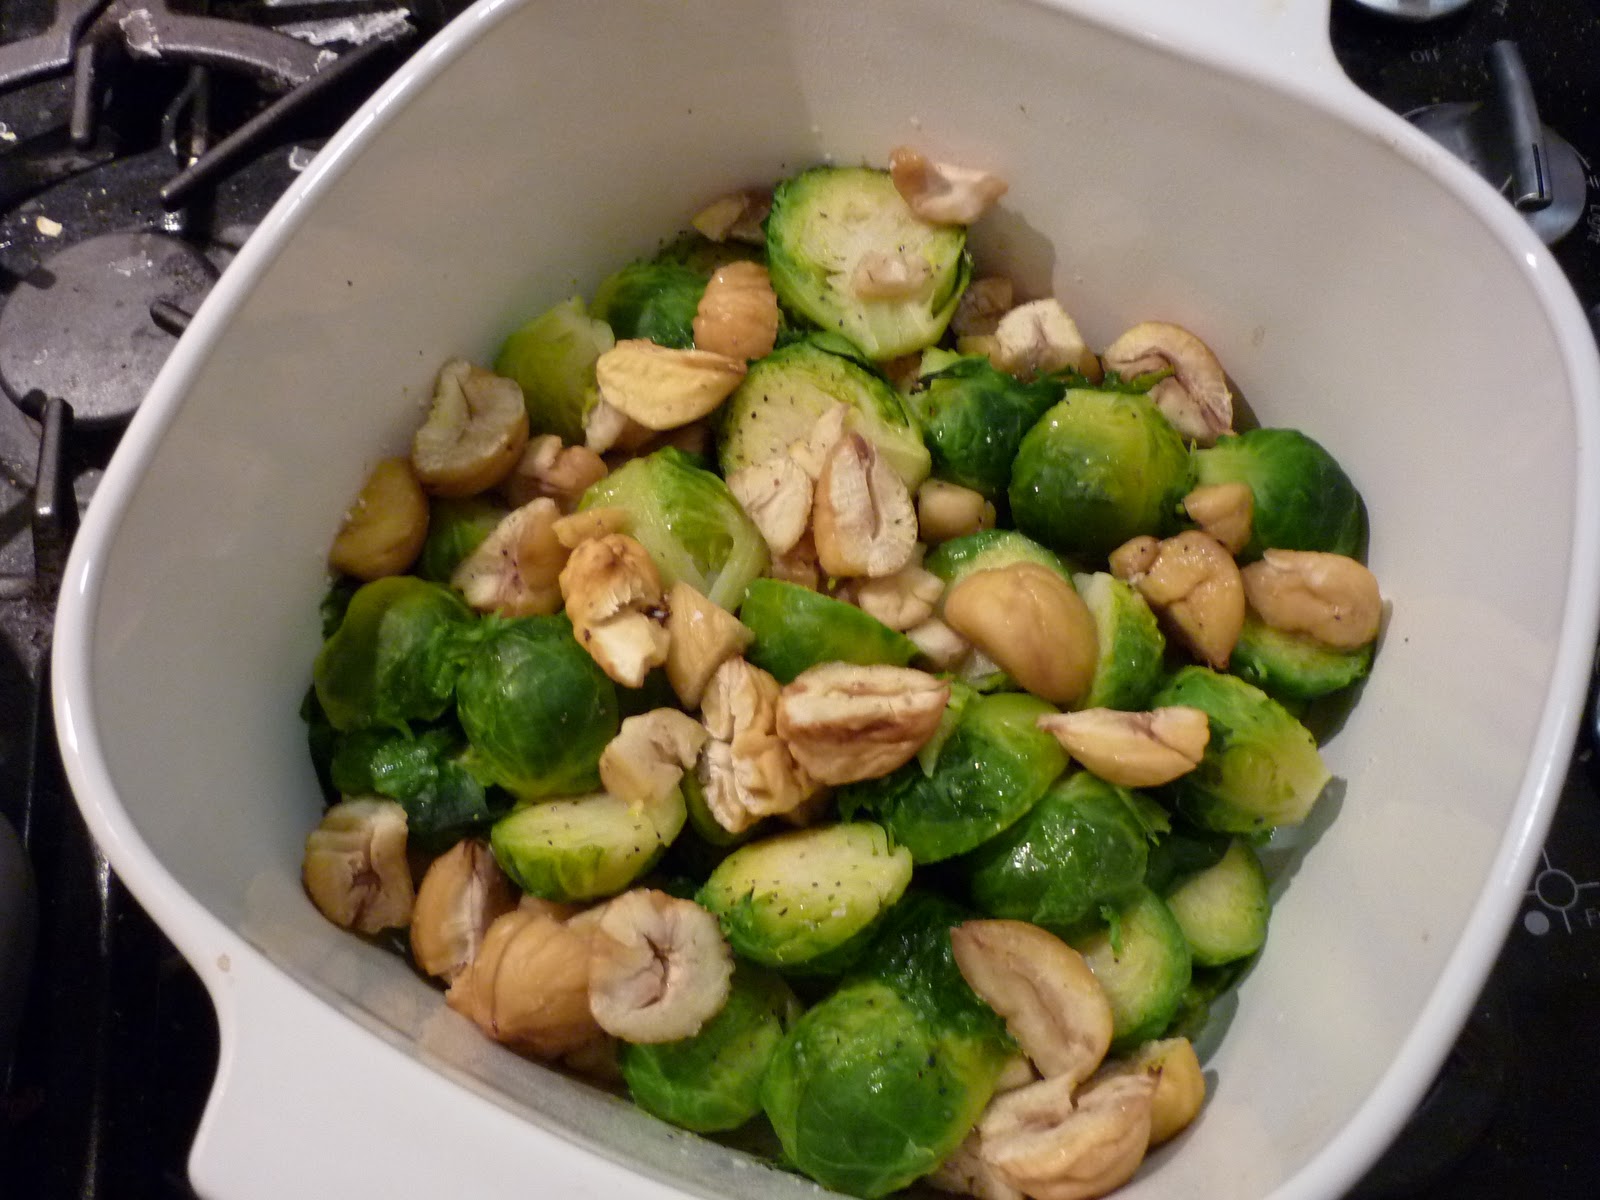
Layer dish with a portion of Brussels sprouts, chestnuts, dot with butter, salt and pepper.
Repeat with more layers.  (I only had enough for 2 layers).
Put a 1/4 cup of water into dish to "moisten."
Bake 30 minutes uncovered.


Chestnuts boiling on an open fire.
1/2 inch deep "X" -- better for smaller sprouts
Cut larger sprouts in half.
Soak in salt water*
Cut chestnut shells in halves or quarters to open
and peel.
Chestnuts.  It should have been twice as much.
Live and learn.
First layer.
Second layer.
I'll use a smaller dish next time.
Add 1/4 cup of water.
30 minutes later.
*Brine Solution - 1 Quart
I keep 1-2 quarts of brine (salt water) solution on hand in the refrigerator.  I use it as a marinade for meat to keep the meat from drying out during the cooking process.  The salt helps draw the water into the muscle cells while marinating.  Anyway, when the cookbook asked for salt water for the sprouts, it didn't give a ratio.  So, I just used the brine solution, and it worked out nicely.

Boil about 1-2 cups of water.
Add 1/4 cup of salt.
Stir until dissolved.
Pour into cold water so the combination equals 1 quart (=4cups).

Family Review:
11 y.o. -- Brussels sprouts were good, not crazy about the nuts.
9 y.o. -- "I LOVE Brussels sprouts!  The nuts are okay."
5 y.o. -- (Not used to it, yet.  Hates it before trying it.  Determined to continue hating it.)
Hubby -- "Best you've made so far.  They don't smell like Brussels sprouts.  Juicy, not too strong."
Me -- I liked them a lot.  Some of the nuts were really good, others not so much.  That could be from my poor storage although I thought I tossed all the bad ones.

I'll definitely make the sprouts this way again and will try the chestnuts with them next holiday season.